Most people approach a weighted digital piano setup the way they approach a printer: unbox it, plug it in, hope. Three weeks later the pedal is lost under the couch, the bench is a dining chair, and the instrument is under a bedsheet.
A weighted digital piano setup that survives past January comes down to four decisions, and none of them involve the sample library or the polyphony number on the box. Key height. Pedal stability. Headphone access. And the twenty minutes a day you actually sit down.
I have taught out of a home studio in Seattle for twenty-five years, thirty students a week, and I have set up more practice corners than I can count: apartments, basements, a converted closet in Ballard, one kid's setup wedged between a bunk bed and a wall. This is the order I do it in, and why the order matters more than the gear list.
Why you should trust me
I am a classically trained pianist and I have been teaching for twenty-five years, which means I have watched hundreds of beginners and transfer students practice on whatever their families happened to buy. I have owned twelve digital pianos over my career, from a plastic slab I would not wish on a beginner to a flagship I still use for session work.
Every instrument that comes through my studio gets the same three pieces: the same Bach prelude, the same Chopin nocturne, and a blues improvisation in whatever key the student is avoiding. I keep a dB meter for speaker work and a scale for comparing how a key end responds to slow pressure. If a piano makes a student's hand collapse after ten minutes, I do not care how good the demo sounded in the store.
How I judge an action before I recommend anything
Graded hammer action is a spectrum, not a checkbox. The cheap end of that spectrum bounces back at you and gets louder as you play deeper into a piece. The good end lets you control tone with finger speed, the way an acoustic does.
Here is what I check, in this order. Key repetition speed: can you play the same note four times at a moderate tempo without the keybed fighting you back. Escapement feel: the small notch under your finger on a grand, which good digitals simulate and cheap ones skip entirely. Damper simulation: whether the sustain lifts progressively as you press, or snaps on like a light switch. Speaker voicing last, because sample quality has plateaued across the industry and what you actually hear is the box, not the library.
None of this needs a lab. It needs ten minutes with the three pieces you know best. If you cannot tell the difference between two instruments in ten minutes, buy the cheaper one and spend the rest on a bench.
The two pieces this setup is built around
One instrument with a full weighted action, and one companion for everything that happens on a screen. That is the whole list. Everything else in a home practice corner is furniture or consumables.
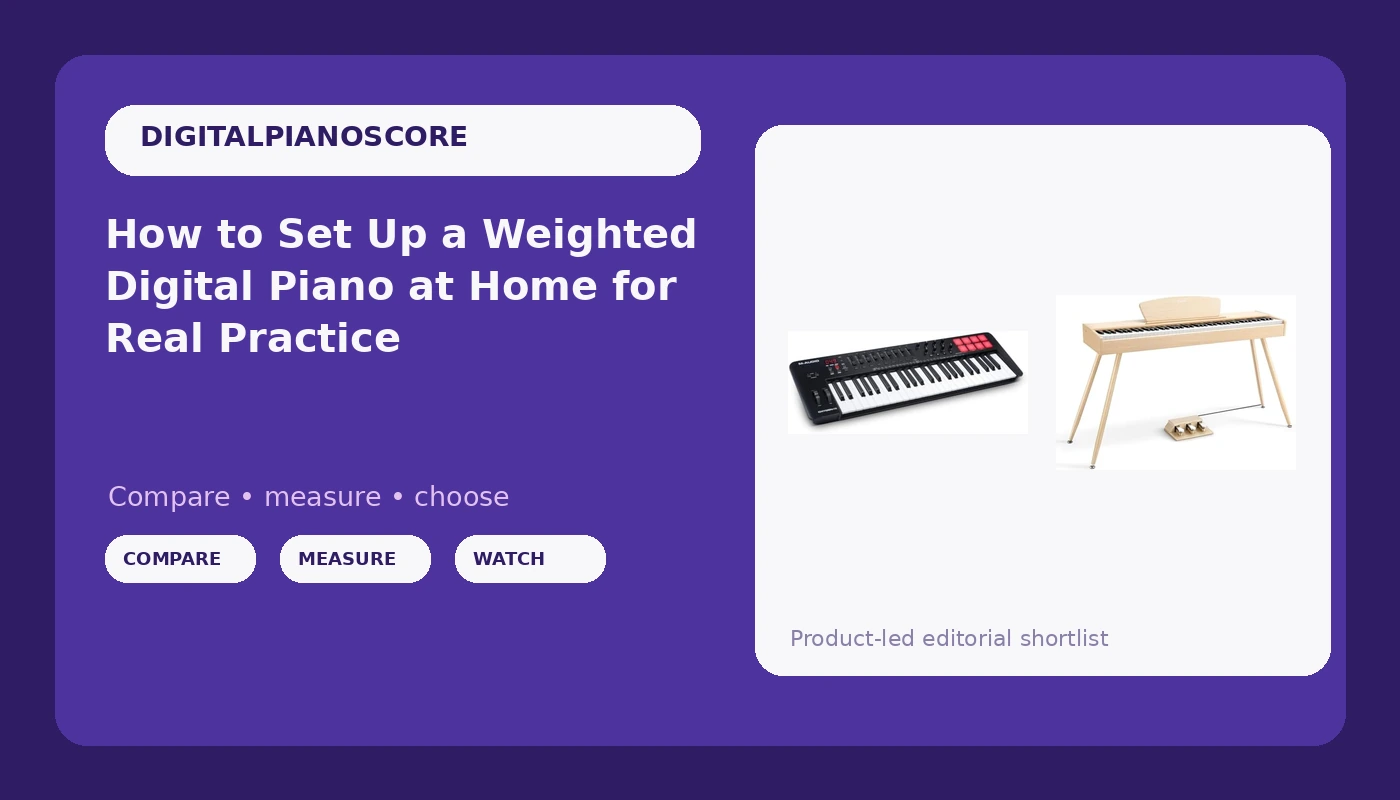
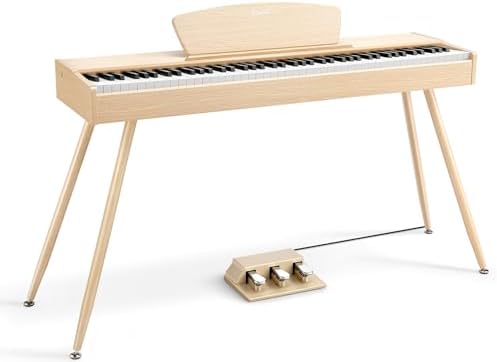
The piano: Donner DDP-80 Digital Piano 88 Key Weighted Keyboard
 Visit on Amazon →
This is the shape of instrument I want a beginner sitting at: eighty-eight full-size keys, a weighted action, and a cabinet that puts the keys at furniture height instead of on a wobbly X-stand. It ships with a sheet music stand, a triple pedal unit, and a power adapter, and it supports USB-MIDI, which means the same instrument you practice on can also feed a notation app or a piano app on a laptop. The retro wood color is a design choice you either want in your living room or you do not. Check current Amazon price.
What matters for setup is that a cabinet piano solves the two problems I spend the most time fixing. Key height is fixed at playing height, and the pedal unit is part of the furniture, so it does not walk across the floor while a nine-year-old holds a whole note. The trade-off is that a cabinet is furniture, and furniture weighs what it weighs. If you move every year, think about that before you fall in love with the finish.
Flaws but not dealbreakers: Cabinet pianos at the beginner end of the market tend to put their budget into keys and casework, not drivers. Voices that sound full on headphones often sound smaller through the box. That is physics, not a defect. Plan on headphones for evening practice.
Beginners, returning adults, and families who want one instrument in the living room that looks like a piano should start here. Check current Amazon price.
The companion: M-AUDIO Oxygen 49 MKV USB MIDI Keyboard Controller
 Visit on Amazon →
I want to be honest about what this is, because I do not review keyboards that are not eighty-eight weighted keys. The Oxygen 49 MKV is not a practice piano and it is not a substitute for one. It is a forty-nine key USB MIDI controller: it sends note data to a computer, and that is the job it is designed for. Entering notes into notation software. Sketching a harmony exercise at a desk. Driving a piano app on a laptop when you are traveling and away from the instrument. It lives next to the computer, not in place of the piano.
If your teacher asks for four bars of counterpoint every week, a controller turns that assignment from pencil-and-eraser work into something a teenager will actually finish. If your goal is finger strength and tone control, this does nothing for you, and buying it instead of a weighted instrument is the single most common mistake I see parents make. Check current Amazon price.
Flaws but not dealbreakers: Forty-nine keys means you cannot play most of the repertoire you are studying. Octave buttons exist, but nobody enjoys a Bach invention through an octave shift.
Anyone taking a theory or composition class alongside piano lessons will get real use out of it. Anyone shopping for their first piano should scroll back up.
The setup order, step by step
Step one: get the key height right before anything else. Your elbows should sit level with the key bed or a hair above it, with forearms roughly parallel to the floor. On a cabinet piano the height is fixed, so you adjust the bench, not the instrument. On a slab, this is where cheap X-stands fail, because the playing height changes as the stand flexes under your hands. An adjustable bench is worth more to your technique than a nicer sample library. If you are using a dining chair in the meantime, add a firm cushion, never a soft one. Soft cushions let you sink, and your wrists break upward to compensate.
Step two: fix the pedal before it starts sliding. A sustain pedal on a bare floor will migrate. Put a piece of non-slip shelf liner under it, push it against the baseboard, and mark the spot with painter's tape so it goes back to the same place. A cabinet piano with an attached triple pedal solves this by design, which is one of the reasons I like them for young students. Learn which of the three pedals you actually need, too. The left pedal is not simply "the quiet one," and the middle pedal is not a mystery to ignore forever.
Step three: solve headphones and the jack location. A headphone jack on the back of the unit is one of my genuine pet peeves, and it is common. If yours is back there, run an extension cable to the front and tape it along the side of the cabinet so it does not pull. Buy closed-back headphones, not a gaming headset with a boom mic. Set the master volume around half and work from there, so you have room in both directions.
Step four: set the touch curve to match your hand. Most digitals ship on a standard velocity curve, and I keep my students there on purpose. A lighter curve lets weak fingers reach full volume without banging, but it also hides sloppy technique, and it will not be there on the recital piano. Test yourself: play a five-finger scale and see whether you can build a real crescendo from soft to loud without changing your hand position. If you cannot, the problem is your hand, not the setting.
Step five: turn the reverb down. Practice presets ship drenched in hall reverb because it sounds impressive in a showroom and muddy in a bedroom. Dial it back until you can hear the attack of each note clearly. You are practicing articulation, not auditioning for a cathedral.
Step six: build the first two weeks of practice. Twenty minutes a day beats ninety minutes on Sunday, every time. Use the same three-part shape I use with students: a warm-up, one technical item such as a scale or arpeggio in the key of the week, and one piece. Set the metronome at a tempo where you can play the passage four times correctly in a row, then raise it. Key repetition matters here. If the action fights you at a slow tempo, you will never fix it by playing faster.
Step seven: connect the laptop and make the USB port earn its place. The piano's USB-MIDI connection is for a notation app, a metronome, or a practice log, not for building a recording rig. Keep it simple: cable from the piano to the computer, one app open, and a routine where you write down what you practiced. This is also where the controller above earns its keep, entering notes on a screen while your hands stay off the weighted keys.
What I left out and why
Sixty-one key keyboards and synth-action slabs are the two things I most often talk families out of. Both feel fine in a store and both teach the wrong hand. If the goal is piano, the goal is weighted keys at full width, and there is no clever workaround.
Cabinets versus slabs is a different argument, and it is about your life, not your playing. A cabinet is furniture you pay extra for, and it is the right answer when the instrument has to live in a shared room and look like it belongs there. A slab plus a solid stand is the smarter buy if you move often, play with a band, or need to store the thing upright in a closet. Neither one makes you a better pianist. The bench and the headphones do more for your progress than the casework ever will.
I also left out speaker upgrades, external sound modules, and every accessory that promises to make a starter piano sound like a concert grand. A great sample through a small speaker sounds like a great sample through a pillow. Headphones first, always.
What this costs beyond the piano
The instrument is the beginning of the budget, not the end of it. Plan for an adjustable bench with no arms, a set of closed-back headphones, a non-slip pad for the pedal, and, if you go the slab route, a stand that does not wobble. Those four items cost less than the jump to the next tier of piano and they change how the instrument feels under your hands every single day.
For the two items in this guide, check current Amazon price at the links above. Prices move, and there is no reason to overpay for a piano that has been on the market this long.
The mistakes that make a good piano feel bad
A bench that is too high, so your wrists bend upward and your forearms slope down. A soft chair that lets you sink. Volume pinned at maximum, which flattens the touch curve into on and off. A pedal sliding around on hardwood. Practicing pieces only, with no slow repetition work. And buying a keyboard that is not a piano, then wondering why the piano feels impossible when you finally sit at one.
Every one of those is fixable in an afternoon, and none of them require spending more money on the instrument itself.
The short version
Set the height, then the pedal, then the headphones, then the touch curve. Play twenty minutes a day with a metronome and one piece you can actually finish. Let the weighted keys do the teaching, and let the controller do the homework. That is the whole setup, and it will outlast most of the gear advice you will read this year.