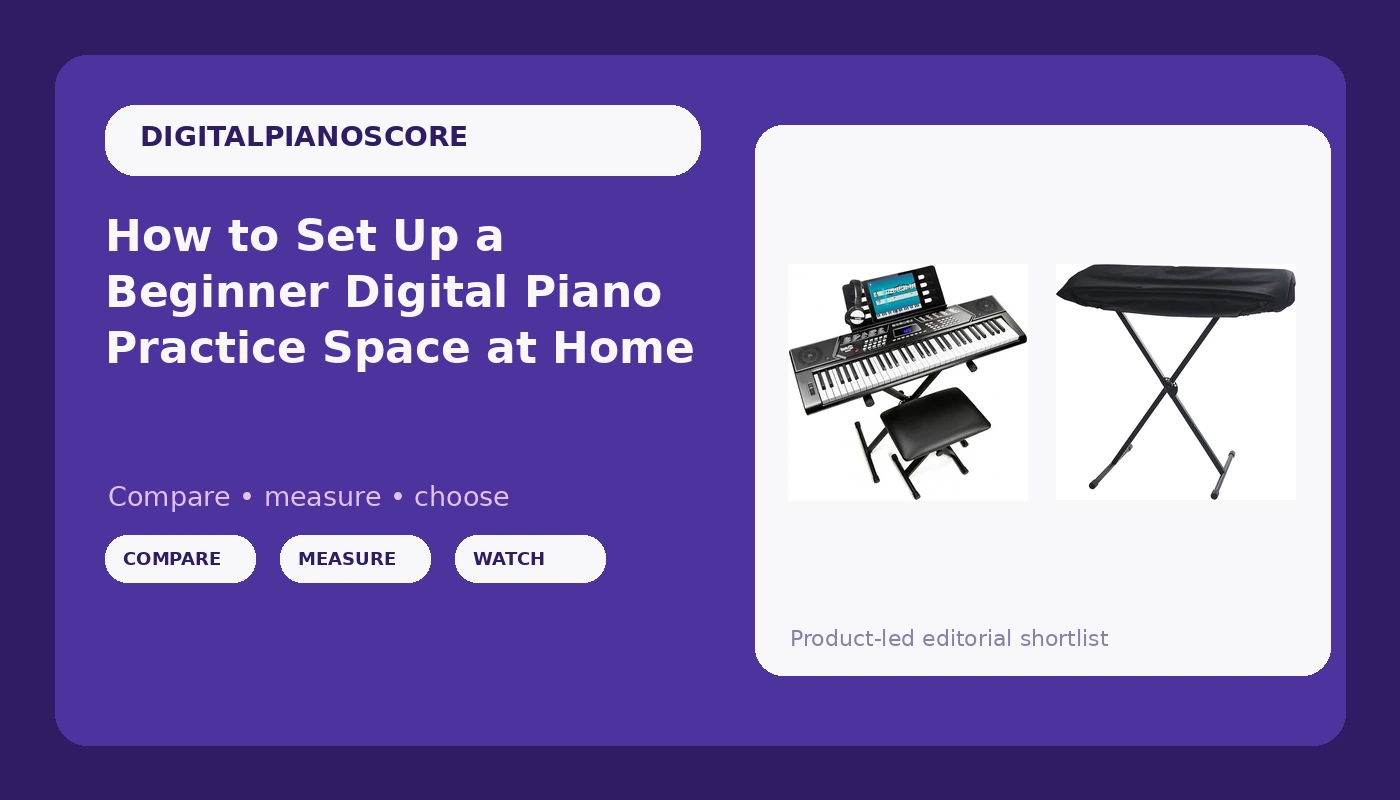
Most students do not quit piano because the instrument is bad. They quit because the corner of the room where the instrument lives is uncomfortable, unprotected, and inconvenient, and after four months of that, sitting down to practice becomes a negotiation instead of a habit.
I have taught out of a home studio in Seattle for 25 years, about 30 students a week, and I have watched this happen behind a $200 keyboard and behind a $6,000 slab. The instrument almost never decides it. The room decides it.
So this is a digital piano practice setup guide, not a buying guide in the usual sense. It is the order of operations I walk families through when they ask me to help them turn a spare corner into a place where a kid or an adult actually plays.
Get the order right and a modest instrument becomes a practice tool. Get it wrong and an expensive one becomes furniture with a music rest.
Why you should trust me
I am classically trained, I have owned 12 digital pianos over my career, and I keep a test routine that does not change: the same Bach prelude, the same Chopin nocturne, a blues improvisation in F, a dB meter for speaker output, and a kitchen scale for action weight. I teach transfer students who arrive from other teachers with habits built on bad benches, and I can usually guess what their home setup looks like within five minutes of hearing them play.
My biases are not secret. The action is the piano, and everything else, samples, speakers, Bluetooth, is a feature. Speaker voicing matters more than sample library size, because a great sample through a bad speaker sounds like a great sample through a pillow. Polyphony numbers are marketing, since nobody plays 256 notes at once. A digital piano is a practice tool first, and if it does not make you want to practice, it failed. And the bench and the pedal that ship in the box are usually the first things you replace.
One boundary: as an instrument reviewer, I only cover 88-key weighted pianos. This article is a deliberate exception, because the setup problem is identical whether the thing under the music rest has 61 keys or 88, and the families who need this guide most are the ones buying the smaller instrument first.
How I chose what goes in this guide
I judged everything here against three questions, in this order.
Does it solve a problem on day one? A beginner kit that arrives without a stand is not a kit, it is a project, and projects do not get practiced on. Does it survive daily use? Stands that flex, benches that will not sit at a workable height, and covers that take forty seconds to wrestle on all fail this test within a month. Does it stay out of the way? Gear that is annoying to use gets abandoned, and abandoned gear is worse than no gear because it makes the player feel guilty every time they walk past it.
I also weighed the thing most parents get backwards. The instrument is the last decision, not the first. Bench height, stand stability, where the headphones live, and whether the keybed is protected from dust and sunlight decide whether the corner works. Two products below handle the ends of that list.
The two things that fix the most common setup problems
One of these is a complete first setup in a single box. The other is maintenance for an instrument that already lives on a stand. Both are about the room, not about sound quality, which is exactly why they belong at the top of this list.
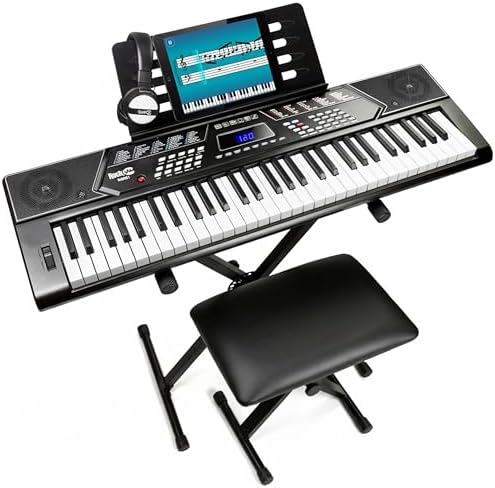
Starter kit pick: RockJam RJ5061 61 Key Keyboard Piano Kit with Stand, Bench & Headphones
 Visit on Amazon →
The reason a kit like this earns a place in a setup guide is that it answers the three questions a beginner's corner asks on day one: where does the instrument sit, where does the player sit, and how does the household survive the first six months of "Twinkle, Twinkle." Everything arrives together, which sounds trivial until you have watched a family spend three weekends shopping for a stand while a motivated eight-year-old loses interest.
Here is the honest framing. This is a 61-key instrument, and nothing in this tier gives you the graded hammer action I care about, so I would not put a serious transfer student on it. What it is good for is the first year: a young beginner learning where the keys are, how to sit, and how to practice every day without a parent driving them to a lesson. A 61-key keyboard covers the method books through the early grades, and the included stand and bench mean the player is sitting at something resembling a real setup instead of on the edge of a bed.
Check current Amazon price before you compare it to anything else in this tier, because the kit math is the whole point. Buying the pieces separately usually costs more and takes longer.
Flaws but not dealbreakers: The accessories bundled into any entry kit are the weakest links, and this one is no different. Plan on replacing the bench first, since bench height is what decides whether the wrists stay level, and then the headphones, which exist mainly to keep the rest of the house sane rather than to flatter the sound. The stand does its job, but it is starter furniture, not something you will move between rooms twice a week.
Parents setting up a first instrument for a seven- to ten-year-old, or an adult who wants to find out whether they will actually stick with it before spending four figures, are the right buyers here.
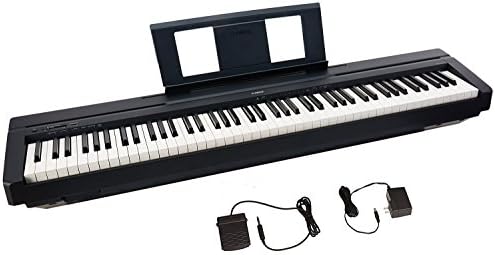
Protection pick: Protect'em Dust Covers Cover with Padding for Key-Casio-PX-S1100 Keyboard
 Visit on Amazon →
This is the other half of the setup problem, and it is the half nobody thinks about until year three. A slab that lives out on a stand in a normal room collects dust in the gaps between the keys, takes window light across the top panel, and attracts whatever the household's pets and siblings shed. I have pulled keybeds apart to clear grit that worked its way down past the keys, and it is the least glamorous repair in this business.
This cover is a padded model sized for the Casio PX-S1100, which matters more than people expect. A cover cut for a specific model sits flat on the top panel instead of draping over the edges and pulling the corners up, and padding means it does not just fold into the keys when you set it down. If your instrument lives on a stand rather than in a closed cabinet, this is the cheapest insurance in the whole setup.
Check current Amazon price against whatever you paid for the instrument, and then do the math on how long you plan to keep it.
Flaws but not dealbreakers: A cover only works if you actually put it on, every night, and a padded cover is bulkier to fold and store than a thin cloth. If it ends up in a closet on the other side of the house, it will never get used, so give it a home next to the bench. Also confirm the fit against your own model before ordering, since this one is cut for the PX-S1100 specifically.
Anyone whose piano sits out in a room with windows, pets, or a woodworking hobby in the next room should have one of these.
The actual setup workflow
Now the part you came for. Do these in order. The sequence matters more than the budget.
Step one: pick the wall, not the instrument. An interior wall, away from heating vents and direct window light. My rule is simple: if you can see the television from the bench, the corner fails. Practice spaces that face a screen lose every time.
Step two: set the bench height before anything else. Sit down, let your arms hang relaxed, and bring the top of the bench to roughly elbow height. The forearms should be level or sloping very slightly down toward the keys. This is the single most common thing I fix in a student's home, and it costs nothing. A bench that cannot be set to a workable height is not a bench, it is a stool.
Step three: set the instrument height on the stand. With the bench correct, the key tops should let the wrists stay level and the elbows stay slightly ahead of the torso. If you have to lift your shoulders to reach the keys, the instrument is too high. If your wrists break upward, it is too low. Adjust the stand, not the bench, once the bench is set.
Step four: get the headphones within arm's reach, and check where the jack is. A headphone jack on the back of the unit is one of my standing complaints, because it turns a one-second action into a reach-around. Route the cable so it does not pull when the player moves, and keep the headphones hanging on the stand or a hook at the end of the bench. Headphones that live in a drawer across the hall do not get used, and a digital piano played at full speaker volume at nine at night is how practice corners get shut down by the rest of the household.
Step five: deal with the pedal. If there is a sustain pedal, it needs to stay where the foot expects it. A pedal that slides across a hardwood floor while a beginner is trying to coordinate hands and feet is the reason their pedaling sounds wrong for a year. Put something under it that grips, or fix it to a small board.
Step six: light the music, not the eyes. A lamp that illuminates the music desk and the keys, positioned so it does not shine into the player's face or reflect off the panel. Bad light is an underrated reason students stop reading from the page and start memorizing everything.
Step seven: build the cover habit. The cover goes on every night, and it lives within reach of the bench. This is a two-second ritual, and it is the difference between an instrument that still feels new in five years and one with a gritty keybed and a faded panel.
Step eight: give the books and a pencil a home. A small basket or a shelf at the end of the bench. Students who have to hunt for their method book before they can start will, on average, start less often. It sounds silly. It is not.
Then run the two-week test. If the player has not sat down unprompted in two weeks, change something about the corner, the light, the bench height, the position in the room, before you change the instrument. The instrument is almost never the problem.
What to skip, and why
Skip the furniture first. A digital piano in a cabinet is a lovely object and a $1,000 premium for wood, and it is the wrong purchase for a beginner whose interest is unproven. Slabs plus a stable stand win on price and on moving day, every time.
Skip anything that is not the instrument you actually need yet. A 61-key starter for a young beginner is fine. It is not fine for a transfer student who is building finger strength and needs weighted keys, and no accessory will fix that mismatch. When the student outgrows the keyboard, that is a good problem, and the setup you built around it, the bench, the light, the headphones, the cover habit, transfers to the next instrument.
Skip the temptation to buy the cheapest stand you can find separately. The stand is the one piece of furniture between the player and the floor, and a flexing stand teaches bad habits about how much force it takes to play.
And skip worrying about polyphony specs on any instrument in this tier. Nobody plays 256 notes at once.
What this all costs
The kit runs in the entry tier, so check current Amazon price on it. The padded cover sits in a similar range, so check current Amazon price on that one too. A bench upgrade and a decent lamp are the next two line items, and both are cheaper than a single month of lessons.
Spread over two years of daily practice, the cost per session on a setup like this is pennies, and that is the only math that matters. The expensive version of this guide is the one where you buy a $1,500 instrument, put it on a wobbly stand, sit on a stool that is three inches too high, and let it collect dust under a window.
Do the eight steps in order. Set the bench height first, keep the headphones where they belong, cover the keys every night, and put the thing where the television is not. That is the whole job, and it is the same job whether the instrument has 61 keys or 88.