A beginner digital piano setup is mostly a room problem, not a shopping problem. I have watched transfer students come back after a summer and lose a full grade level of hand control, and almost none of them lost it because the instrument was cheap. They lost it because the piano was folded against a wall, the pedal slid under the couch, the bench was the wrong height, and the headphones plugged into the back of the unit where a ten-year-old cannot reach.
Fix those four things and most beginners practice more, on the same instrument they already own.
This guide is the setup I walk families through, and it ends with the two instruments I would actually start a beginner on this year if the home setup matters as much as the piano does. The action still comes first. The setup is what lets the action get used.
The short answer
You need 88 weighted keys, a stand that does not wobble, a pedal that stays where you put it, a bench at the right height, headphones that reach, and a permanent place in the room where the instrument lives assembled.
That is the whole list.
Everything else, the app, the Bluetooth, the "concert grand" sample names, the 256-note polyphony headline, is optional. A digital piano is a practice tool first. If the setup makes sitting down annoying, the tool failed no matter what the spec sheet says.
Why you should trust me on this
I am Yuki, I teach out of a home studio in Seattle, about 30 students a week, and I have owned 12 digital pianos over 25 years of teaching, from a $200 Casio that I gave away to a slab that cost more than my first car. I keep a scale for action weight and a dB meter for speaker output, and every instrument that comes through my studio gets the same three pieces: one Bach prelude, one Chopin nocturne, and a blues improvisation in F.
That routine is how I tell a $400 action from a $2,000 action blindfolded. This article is not about that test. It is about the setup work that happens after you get the thing home, which is where most beginners quietly quit.
What I check before I recommend anything for a beginner
The action is the piano. Samples have plateaued across brands; what people hear as a difference is mostly speaker voicing. So when I sit down with a beginner instrument, these are the things I am actually listening for:
Key repetition. Can you play the same note twice in a row softly and get two clean notes? Cheap actions bounce or drop the second note. Good ones let you repeat without lifting high.
Volume consistency across the keyboard. On some actions the tone gets louder as you play deeper into a piece, because the sensor is reading how far the key travels rather than how fast you struck it. That is a beginner trap, because it teaches a student to back off their touch.
Speaker voicing. A great sample through a three-inch speaker sounds like a great sample through a pillow. If the midrange is boxy, the student hears mush and stops listening.
Pedal and stand. The pedal and the bench in the box are almost always the weak links. Budget for replacing them.
Headphone jack placement. Front, always. A jack on the back of the unit means the student stands up, walks around, and loses the thread of the lesson every time.
The two instruments I would start a beginner on this year
Both of these are 88-key weighted instruments, and they solve the setup problem in two different ways. One is a slab you build a setup around. The other arrives with the furniture and the pedals already in the box.
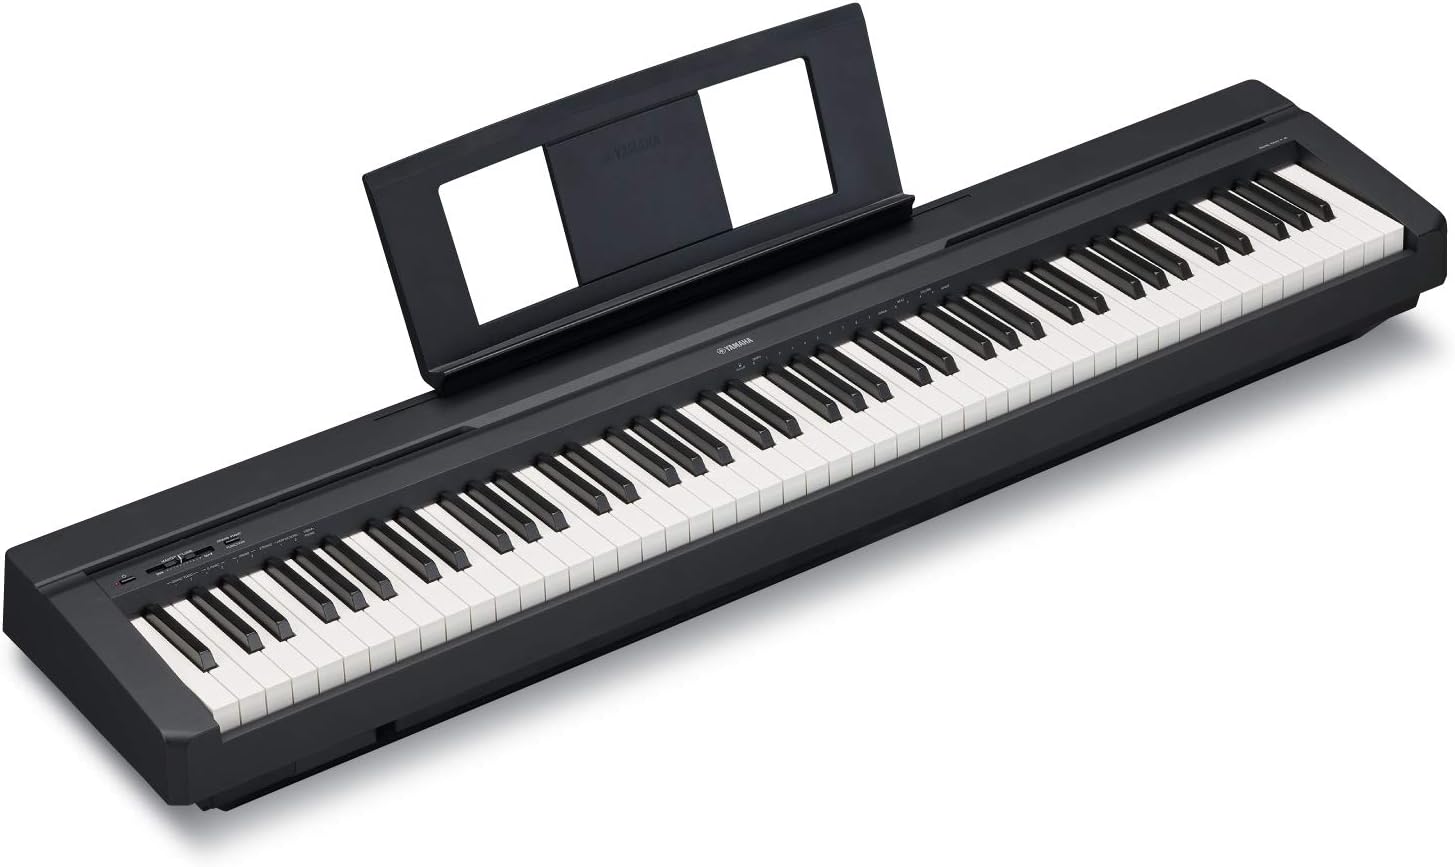
The slab pick: YAMAHA P71 88-Key Weighted Action Digital Piano with Sustain Pedal and Power Supply (Amazon-Exclusive)
 Visit on Amazon →
This is the slab I point parents at when the piano has to move, live in a small apartment, or slide under a desk between lessons. It is 88 keys with a weighted action, and it arrives with a sustain pedal and a power supply, which is the pair of accessories that most slabs leave you to buy separately.
A slab is the smart buy for most people, and this is the reason: the cabinet you pay extra for is furniture, and furniture does not teach anybody. What you give up is the built-in stand, so you will pair this with a solid X-stand or a furniture-style stand rated for the weight, and you will spend fifteen minutes getting the height right on day one. Do that and it feels like a piano. Skip it and it feels like a keyboard on a coffee table, which is exactly how students start sitting with their wrists collapsed.
The action here is the part that matters for a transfer student. It is predictable, it does not get louder as you play deeper into the phrase, and it lets a beginner repeat a note softly without bouncing. That is a much shorter list than the marketing copy suggests, and it is the list that stops a student from regressing over the summer.
The honest caveat is the pedal. The sustain pedal that ships in a slab box, including this one, is a plain floor pedal, and plain floor pedals walk. Put it on a hard floor and it drifts toward the couch. Put it on a rug and it hops. Either way, use a square of grip mat under it or a pedal with a heavier base, and if your student is under twelve, expect to re-place it at the start of every practice session for the first month.
Flaws but not dealbreakers: No stand or bench in the box, so add those to your build list before the piano arrives. And the built-in speakers are voiced for a bedroom, not a living room with the TV on, so plan on headphones for the noisy hours.
Anyone who needs the piano to be movable, or who is setting up in an apartment where the neighbors share a wall, should start here.
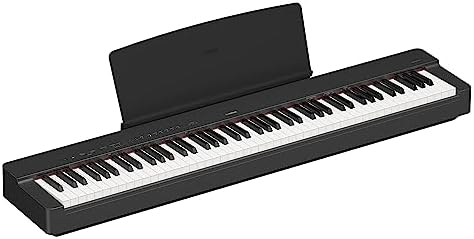
The all-in-one pick: Donner DEP-20 Beginner Digital Piano 88 Key Full Size Weighted Keyboard, Portable Electric Piano with Furniture Stand, 3-Pedal Unit
 Visit on Amazon →
This is the one I recommend when the buyer does not want a project. You get 88 full size weighted keys, a furniture stand, and a three-pedal unit in one box, which means the setup problem I just described is mostly solved before you open the carton.
The three-pedal unit is the real argument here, and it is not about playing advanced repertoire. It is about teaching the foot to stay anchored. A pedal bar that is bolted into the stand does not slide, does not hop, and does not disappear under the bench, so the student learns to keep the heel down and the ball of the foot on the pedal instead of chasing a loose pedal around the floor. I will take a bolted pedal bar over a fancier sample library every time for a student in their first two years.
The furniture stand matters for a different reason: it holds the keys at a fixed height, and a fixed height is what makes a posture habit stick. With an X-stand you adjust it once and then somebody bumps it. With a cabinet-style stand, the height is a constant, which is exactly what you want for a kid practicing alone.
Where I temper my enthusiasm is action consistency. Yamaha and Kawai still own the top tier of action quality, and the Chinese-built brands are closing the gap on sound faster than they are closing it on action feel across the length of the keyboard. What that means in practice is that if you can, play this one in person through the upper and lower octaves with the same touch and listen for a note that speaks differently from its neighbors. If they match, this is a genuinely good beginner setup at a price that leaves room for a proper bench.
Flaws but not dealbreakers: A piano with a stand is still not a piano that stays in tune with your room, so give the speakers a week to settle in before you decide the voicing is wrong. And the bench is not in the box, so buy an adjustable one.
Anyone buying for a ten-year-old, or for an adult who wants the instrument to look like furniture in a living room, will get the most out of this package.
The step by step setup
Do these in order. The whole job takes about an hour, and it is the hour that decides whether the instrument gets played.
Step one: Choose the permanent spot. Not the spot that works on Tuesdays. A corner that is out of foot traffic, away from the TV, and against a wall that is not shared with a sleeping baby. If the piano has to be set up and torn down for each practice, it will get practiced on half as often.
Step two: Set the keyboard height. Sit down and let your arms hang. The top of the white keys should land at roughly elbow height, so your forearms rest level or slope slightly down toward the keys. If your wrists bend upward to reach the keys, the stand is too low. If your shoulders lift, it is too high. This is the single most common mistake in home setups and the easiest to fix.
Step three: Replace the bench if it wobbles. An adjustable bench is worth more than an upgrade in samples. Sit toward the front half of the bench, feet flat, thighs sloping slightly down. A bench that is too high makes the student sit forward and tense. A bench that rocks makes them tense for a completely different reason. This is where the piano budget should go.
Step four: Anchor the pedal. Grip mat on a hard floor, and if you are on carpet, a thin board under the pedal so it has something solid to sit on. Test it by playing a slow scale with the pedal down and checking that the pedal is in the same place at the end. If it moved, it will move during a lesson, and it will move during a recital.
Step five: Sort the headphones. Front jack if you have one. If the jack is on the back, buy an extension cable and tape the end to the front of the stand so the student can reach it without getting up. Keep a hook on the side of the stand so the headphones live somewhere instead of on the floor.
Step six: Set the volume like an acoustic. Turn the volume up until the piano is roughly as loud as a real upright would be in that room, then stop. Beginners who practice at maximum volume play with a flatter touch, because everything sounds loud no matter how they strike the key. If you have a dB meter, use it once and write the number on a sticky note.
Step seven: Light the music, not the player. Put a lamp so it lights the page from above or slightly behind the music desk. A lamp behind the player throws glare across the page and puts the keys in shadow, which is how students end up memorizing posture problems.
Step eight: Route the cables under the stand. The power supply block should not be where the foot goes. Route it back, zip tie it to the stand leg, and leave slack at the jack so a bumped cable does not unplug mid-piece.
Step nine: Put the metronome within reach. Not an app three menus deep on a phone. A physical metronome on top of the piano, or a phone on a stand with the screen awake. This is also the answer to Bluetooth: use it for a lesson app if you want, but never rely on a wireless connection for a tempo the student needs mid-piece.
Step ten: Play the same ten minutes every day for a week. The setup is not finished until sitting down is automatic. The test is whether you can be playing within ten seconds of deciding to practice. If it takes longer, something in the setup is still wrong.
How to test the instrument yourself before you commit
You do not need my repertoire. You need two pieces: one slow and legato, one fast with repeated notes.
Play the slow piece and listen for any note that jumps out louder than its neighbors. Play the fast piece and check whether repeated notes speak cleanly at a soft dynamic. Then hold a chord and press the sustain pedal down slowly, listening for the moment the dampers would lift on a real piano. If the pedal acts like an on and off switch with nothing in between, that matters more for a beginner than any specification on the box.
Finally, sit at it for ten minutes with the stand at your height and notice whether your shoulders are up. If they are, adjust before you buy again, not after.
What to skip
Skip the 61-key keyboard with unweighted keys, no matter how good the price looks. Students who learn on springy keys hit a wall the first time they touch a real piano, and the wall is expensive to climb.
Skip the extended app subscription in the first month. Learn whether the student will actually open it before you pay for a year of it.
Skip the "concert grand" claims on any instrument with small built-in speakers. The samples may be excellent. The speakers are still the limit.
Skip the second instrument. If the piano is set up properly, one is enough. If it is not set up properly, a second one will not fix it.
What this costs you in practice time
The instruments are the variable, so check the current Amazon price on both and let the budget decide that part. What is fixed is the setup: an adjustable bench, a grip mat or a thin board under the pedal, headphones and an extension cable if the jack is on the back, and a lamp you can aim at the page.
Add those up and you are paying for maybe two weeks of lessons. What you get back is every practice session for the next two years, because the instrument is out, at the right height, with a pedal that stays where the foot leaves it.
That is the job. The action is the piano, but the setup is what gets the action played. Get the room right this week and the instrument will do the rest.