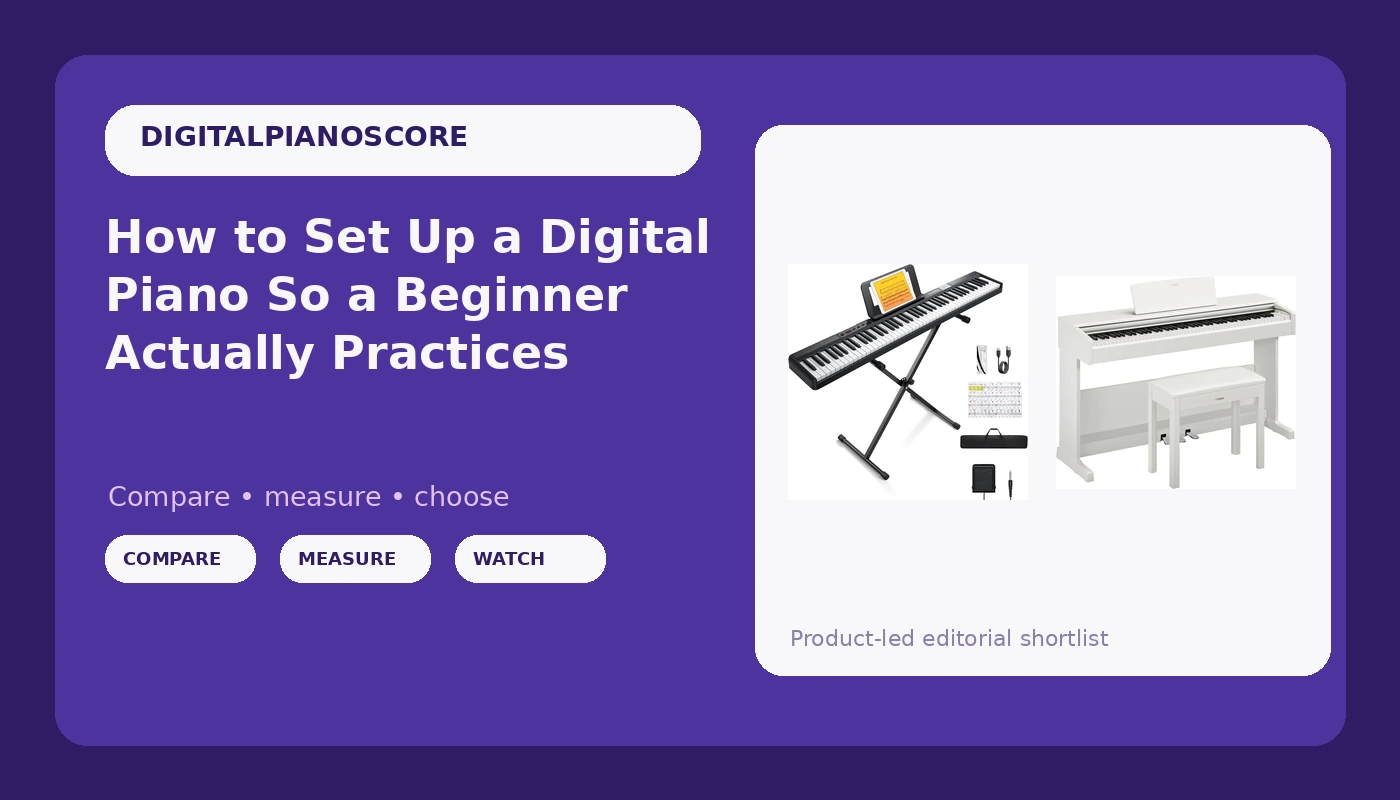
A weighted action digital piano will not fix a bad setup. I have watched parents spend a Saturday unboxing a brand new instrument, park the bench at dining chair height, drop the sustain pedal loose on a hardwood floor, plug the headphones into the back of the unit, and then call me three weeks later to ask why the ten year old stopped sitting down at it. Nothing was wrong with the piano. The seat was wrong, the pedal had wandered under the left foot, and the touch was set to the setting that feels impressive in a showroom and teaches nothing at home.
I have taught out of a home studio in Seattle for 25 years, roughly 30 students a week, and I have owned 12 digital pianos over my career, from a cheap slab I bought in college to a cabinet I still record on. The routine below is the same one I walk parents through on the phone before the first lesson. It takes about an hour, it costs nothing extra, and it is the difference between an instrument that gets played every day and a piece of furniture with a lid.
Here is the order I do it in: seat, stand, pedal, headphones, touch curve, volume. Do it in that order and you will only have to do it once.
Why you should trust me
I am a classically trained pianist and I have been teaching since I was in my twenties. Thirty students a week pass through my studio, and the ones who worry me most are the transfer students, the kids who learned on something that fought them and arrive in September with collapsed knuckles and no dynamic control.
Every instrument that comes into my studio gets the same three pieces: the same Bach prelude, the same Chopin nocturne, and a blues improvisation in F. I keep a scale on the music stand for action weight and a dB meter for speaker output. That is not science, it is a habit, and it means I can tell you within about two minutes whether an action is graded and controllable or whether it is a spring with a piano sticker on it.
What I will not do is pretend that any of this is complicated. Setup is not a skill. It is a checklist that nobody hands you when you buy the thing.
What "good enough" actually means for a beginner
Action weight is a spectrum, not a checkbox. The cheap end of that spectrum bounces: you press a key, the key pushes back at the same rate no matter how fast you move, and the student learns that volume comes from somewhere other than the finger. The good end lets you control tone with finger speed, which is the whole point of the instrument. A beginner does not need a $3,000 action. A beginner needs an action that does not lie about what the hand just did.
Key repetition matters more than people think. If a student is playing the same note twice in a row and the second one does not sound, they will slow down to make it work, and that slowness becomes a habit that takes a year to unlearn. Escapement, the little notch you feel when a key is fully pressed, is the mechanism that lets a key reset before it fully returns. On a digital piano it is simulated, and on the cheapest actions it is not simulated at all.
Ignore the polyphony number. Nobody plays 256 notes at once. I have never once heard a student hit a note limit on a modern instrument, and I have heard plenty of students struggle with an action that will not repeat.
Speaker quality matters more than sample library size. This is where the phrase "grand piano sound" on a box becomes a problem. The samples are usually fine. What you hear is the speaker, the cabinet, and the wall behind it. A great sample through a small speaker in a corner sounds like a great sample through a pillow.
The two setups that cover most beginners
Most families I talk to are choosing between two shapes: a portable bundle that gets a kid playing this week, and a cabinet that stays in the living room for a decade. Both are legitimate. What matters is that you finish the setup either way.
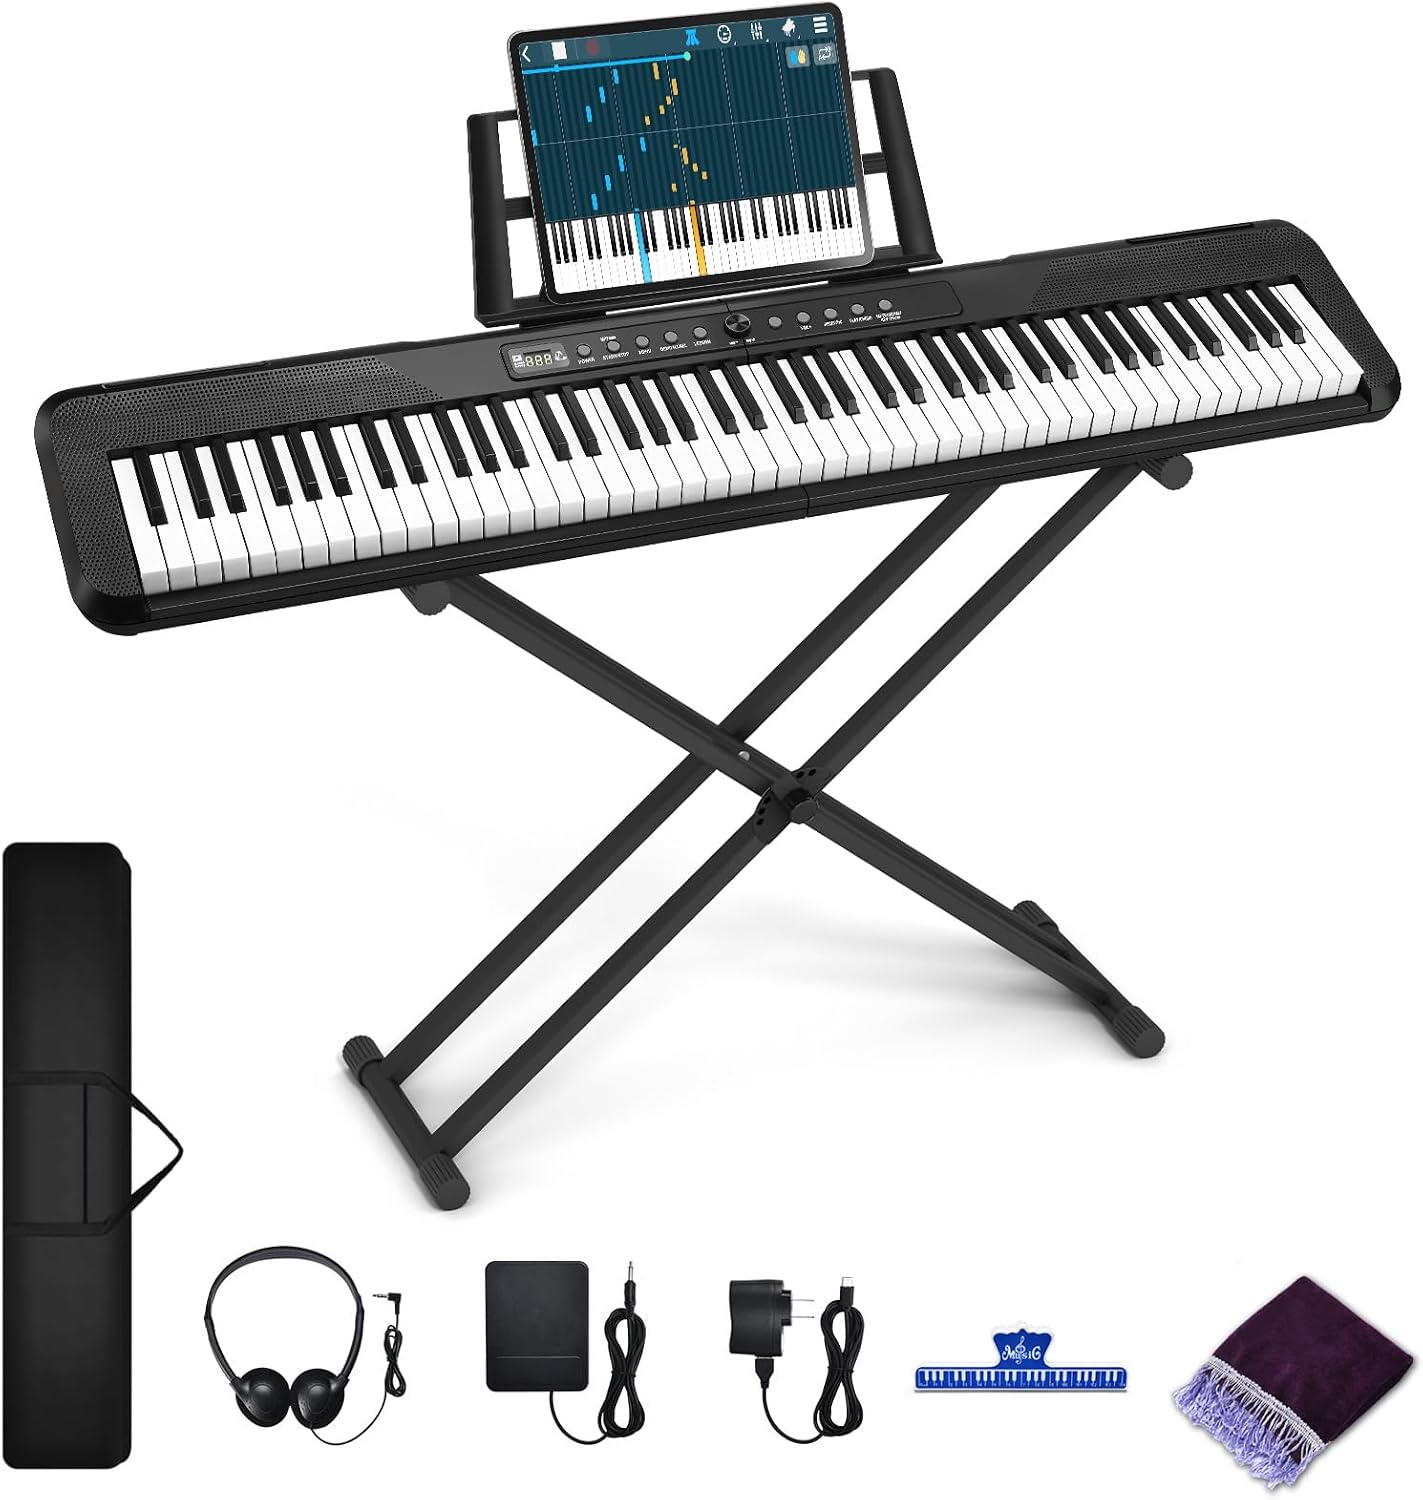
Budget pick: Donner Piano Keyboard 88 Keys, Beginner Digital Piano Velocity-Sensitive Keys, Portable Electric Piano with Stand, Sustain Pedal, Carrying Case and Keyboard Stickers, DEP-1
 Visit on Amazon →
This is the bundle I point parents toward when the budget is tight and the apartment is small. It ships with the stand, a sustain pedal, a carrying case, and key stickers, which means one box solves the whole problem. Check current Amazon price.
Read the specification carefully, though. The listing describes velocity-sensitive keys, which is a promise about how the instrument responds to how hard you play. That is not the same promise as a graded hammer action, and if your goal is transfer to an acoustic piano, you should sit down and play it before you commit. A velocity-sensitive action can be perfectly usable for a first year. It is not what I would want a student on at year four.
The keyboard stickers are genuinely useful for a young beginner and slightly insulting to a nine year old who can already read music. Use your judgment.
Flaws but not dealbreakers: The stand in any bundle at this level is the weak point, and the pedal is a simple switch rather than a half-pedal unit. Neither is a dealbreaker for year one. Both are the first things I would replace.
Families in apartments, kids under ten, and anyone who needs to move the instrument between rooms will get the most out of this.
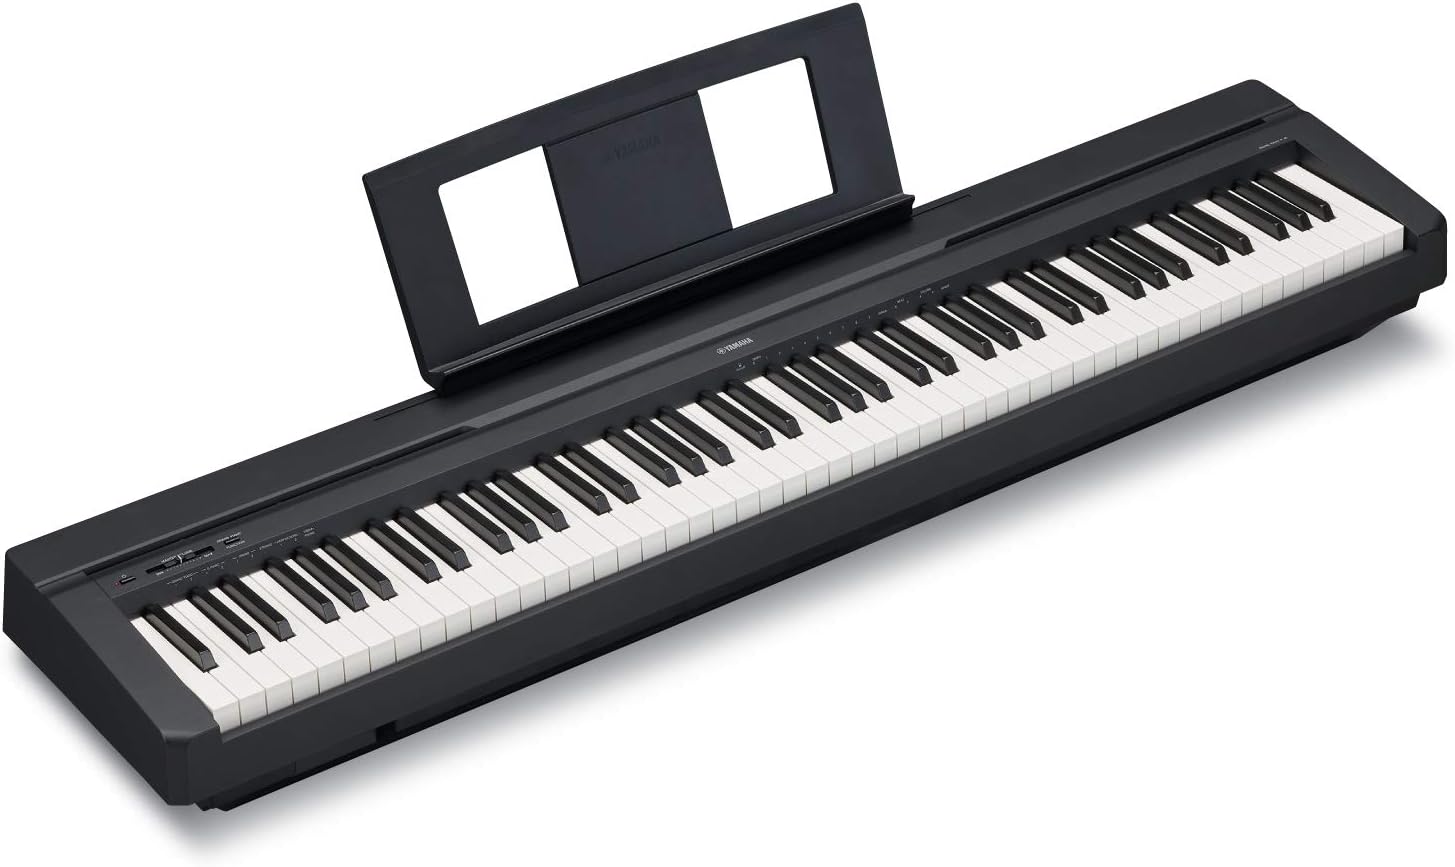
Our pick: Yamaha YDP105 88-Key Weighted Action Upright Digital Piano for Beginner and Intermediate Players, Dynamic Response, Grand Piano Sound, 3-pedal Unit, Upright Design, Bench Included, White
 Visit on Amazon →
This is the one I recommend when a family asks what they should buy if they want the piano to still be in the house when the student is sixteen. Check current Amazon price. It is an 88-key weighted action upright with dynamic response, a three-pedal unit, and a bench in the box, in white.
The three-pedal unit is the part I care about most. A single sustain pedal that slides around the floor teaches a student nothing about pedaling, because half the lesson is spent chasing it. A fixed pedal unit under a cabinet means the right foot learns where it lives. If your teacher has started talking about half-pedaling, this is the feature that matters.
The "grand piano sound" label is marketing, and I say that as someone who likes how this instrument sounds. What you are actually hearing is a decent sample set pushed through a modest speaker system in a wooden cabinet. Put it four inches off the wall, not flat against it, and it will sound better than it does in the store.
Flaws but not dealbreakers: The included bench is fine to start with and the height is fixed. If your student is small, put a cushion under them or buy an adjustable bench rather than letting them play with their wrists below the keys.
Anyone with a permanent spot in a living room and a student who intends to keep going should look here first.
The actual setup workflow
Now the part you came for. This works on either instrument above and on almost anything else with 88 keys.
Step one: the seat. Set the bench so the student's elbows are slightly above the key tops and the forearms slope down just a little. Feet flat, knees at roughly a right angle. A dining chair is almost always too low and too deep, and it puts the wrists below the keys, which is how you get a student playing with flat fingers and a collapsed hand. If you only fix one thing on this list, fix this one.
Step two: the stand or cabinet placement. Push the instrument against a wall that is not a window and not a radiator. Leave a gap of about four inches behind it. A piano jammed into a corner doubles up the bass and makes everything sound muddy, which is exactly the sound people describe as "cheap" when they audition a perfectly good instrument.
Step three: the pedal. If you have a loose pedal, it will slide. Put it on a rug, or cut a strip of non-slip shelf liner and set it under the pedal body. Then position it under the right foot, not the middle. The left foot should be flat on the floor unless the music calls for it, and if the pedal is centered, the student will lean to reach it and their whole posture will go.
Step four: the headphones. Check where the jack is before you buy an extension cable. If it is on the back of the unit, run a short extension to the front and tape the loop down so nothing tugs on the plug. A straight plug sticking out of the back of a piano gets bent within a month. Use a right angle adapter. And set the headphone volume before you hand them over, because kids turn things up.
Step five: the touch curve. Find the velocity or touch setting in the menu and set it to normal or medium. Not light, not hard. The light setting makes a beginner sound better than they are, because every timid press produces a full tone, and that is the single fastest way to delay dynamic control by a year.
Step six: the volume. Set the master volume so that a comfortably firm middle C is roughly the loudness of a conversation. If you can hear the piano over a running dishwasher, it is too loud, and a student who practices that way will play with no touch at all within a month. If you have a dB meter, aim for the low 70s at the player's ear. If you do not, use your own voice as the reference.
Step seven: the first session. Ten minutes. One scale, one phrase, both hands separately. The goal of the first session is not progress, it is proving to the student that sitting down is easy.
The mistakes I see every September
- The bench is too low. This is the most common problem and the hardest to notice, because a kid will adapt to anything.
- The pedal is sliding. Every time it moves, the student stops playing to fix it, and eventually stops playing.
- The touch is set to light. It feels encouraging. It teaches nothing.
- The headphones are permanently plugged in. Speakers teach the student that sound has a physical body. Headphones hide it.
- The instrument is in a corner. Move it out and listen again before you blame the piano.
- The action gets louder as the student plays deeper into a piece. That is usually the touch curve or a sample layer changing under their hands, not the student's fault, and it is worth ten minutes in the menu to fix.
The upgrade order
Spend in this order, and stop when the student stops noticing the difference.
First, an adjustable bench. It matters more than any feature on the instrument.
Second, a proper pedal. If your instrument has a fixed three-pedal unit, you already have this. If it has a loose switch pedal, this is the upgrade.
Third, decent closed-back headphones for the household's sake, with a right angle adapter and a hook to hang them on.
Fourth, a stable stand if you are on a slab, because a wobbling stand teaches a student to play cautiously.
Fifth, the instrument itself. By the time a student has outgrown the action they started on, they will know exactly what they want next, and you will not be guessing.
Frequently asked questions
Do beginners need 88 weighted keys? If the goal is transfer to an acoustic piano, yes. A weighted action digital piano builds the finger control that a springy keyboard never asks for, and 88 keys means the student never has to think about where the music stops.
Can a student learn on a smaller keyboard? For the first six months, sometimes. After that, repertoire starts using the full range, and the student spends more energy managing the instrument than the music.
How often should I recheck the setup? Every September and every time the instrument moves. Height drifts, pedals wander, and kids grow three inches over a summer.
None of this is expensive and none of it is technical. It is an hour with a tape measure, a rug, and a menu button, and it decides whether the instrument you just bought gets played or gets dusted. Do the setup once, and then get out of the way and let the student play.