Most beginner digital pianos are set up badly in the first hour and never corrected. I have watched it happen every September for twenty-five years: a new student walks in for lesson one with an instrument that sits too high, a pedal that has already wandered across the floor, and a slab pushed flat against a wall so the speakers sound like they are playing through a pillow. A beginner digital piano setup is not complicated, but nobody sells it to you, and the mistakes are the kind you stop noticing after a week.
I teach thirty students a week out of a home studio in Seattle, and the students who quit are almost never the ones with the least talent. They are the ones whose instrument fights them every time they sit down. The action is the piano. Everything else is a feature. A stand that rocks, a bench that is two inches too low, and keys that are greasy from a summer of snack hands will do more damage to a beginner's first year than any spec on the box.
This is the setup routine I walk through with families, in the order I actually do it, plus the two pieces of gear I would buy before the first practice session.
Why you should trust me
I am classically trained, I studied with a teacher in Tokyo who would not let me move on from a Bach prelude until the voicing was honest, and I have taught for twenty-five years. In that time I have owned twelve digital pianos, from a two hundred dollar slab I used for gigs in the nineties to a six thousand dollar instrument that lives in the studio now. I still keep the same test routine for every piano that comes through the door: the same Bach prelude, the same Chopin nocturne, and a blues improvisation that tells me more about an action than either of them.
I also keep a decibel meter and a small scale for action weight, because ears lie and numbers do not. But the number that matters most to me is simpler than any of that. Does the instrument make a ten-year-old want to sit down again tomorrow? If it does not, the setup is wrong somewhere.
How I picked these two
The checklist I use for any beginner setup has six items. Action weight and key repetition. Stability of the stand under fast playing. Where the pedal sits and whether it stays there. Where the headphone jack is, because a jack on the back of the unit means a student practices less at night. And how easy the surfaces are to keep clean, which sounds trivial until you have seen what a year of unwashed hands does to a key bed.
The two products below are the ones I would start with for a first-year player. I evaluated them against that checklist from their published specs and from the role each one plays in a beginner's first year, not from a lab bench in my studio, so I am telling you exactly what they are and what they are not. The honest summary is that the instrument is rarely the weak point in a beginner setup. The accessories around it usually are.
What you need before the first practice session
You cannot dial in touch and tone on an instrument that is sliding around on a carpet, and you cannot keep an action feeling good if the keys are never cleaned. Get these two things settled first.
Starter pick: Donner 88 Key Keyboard Piano for Beginners
Check current Amazon price.
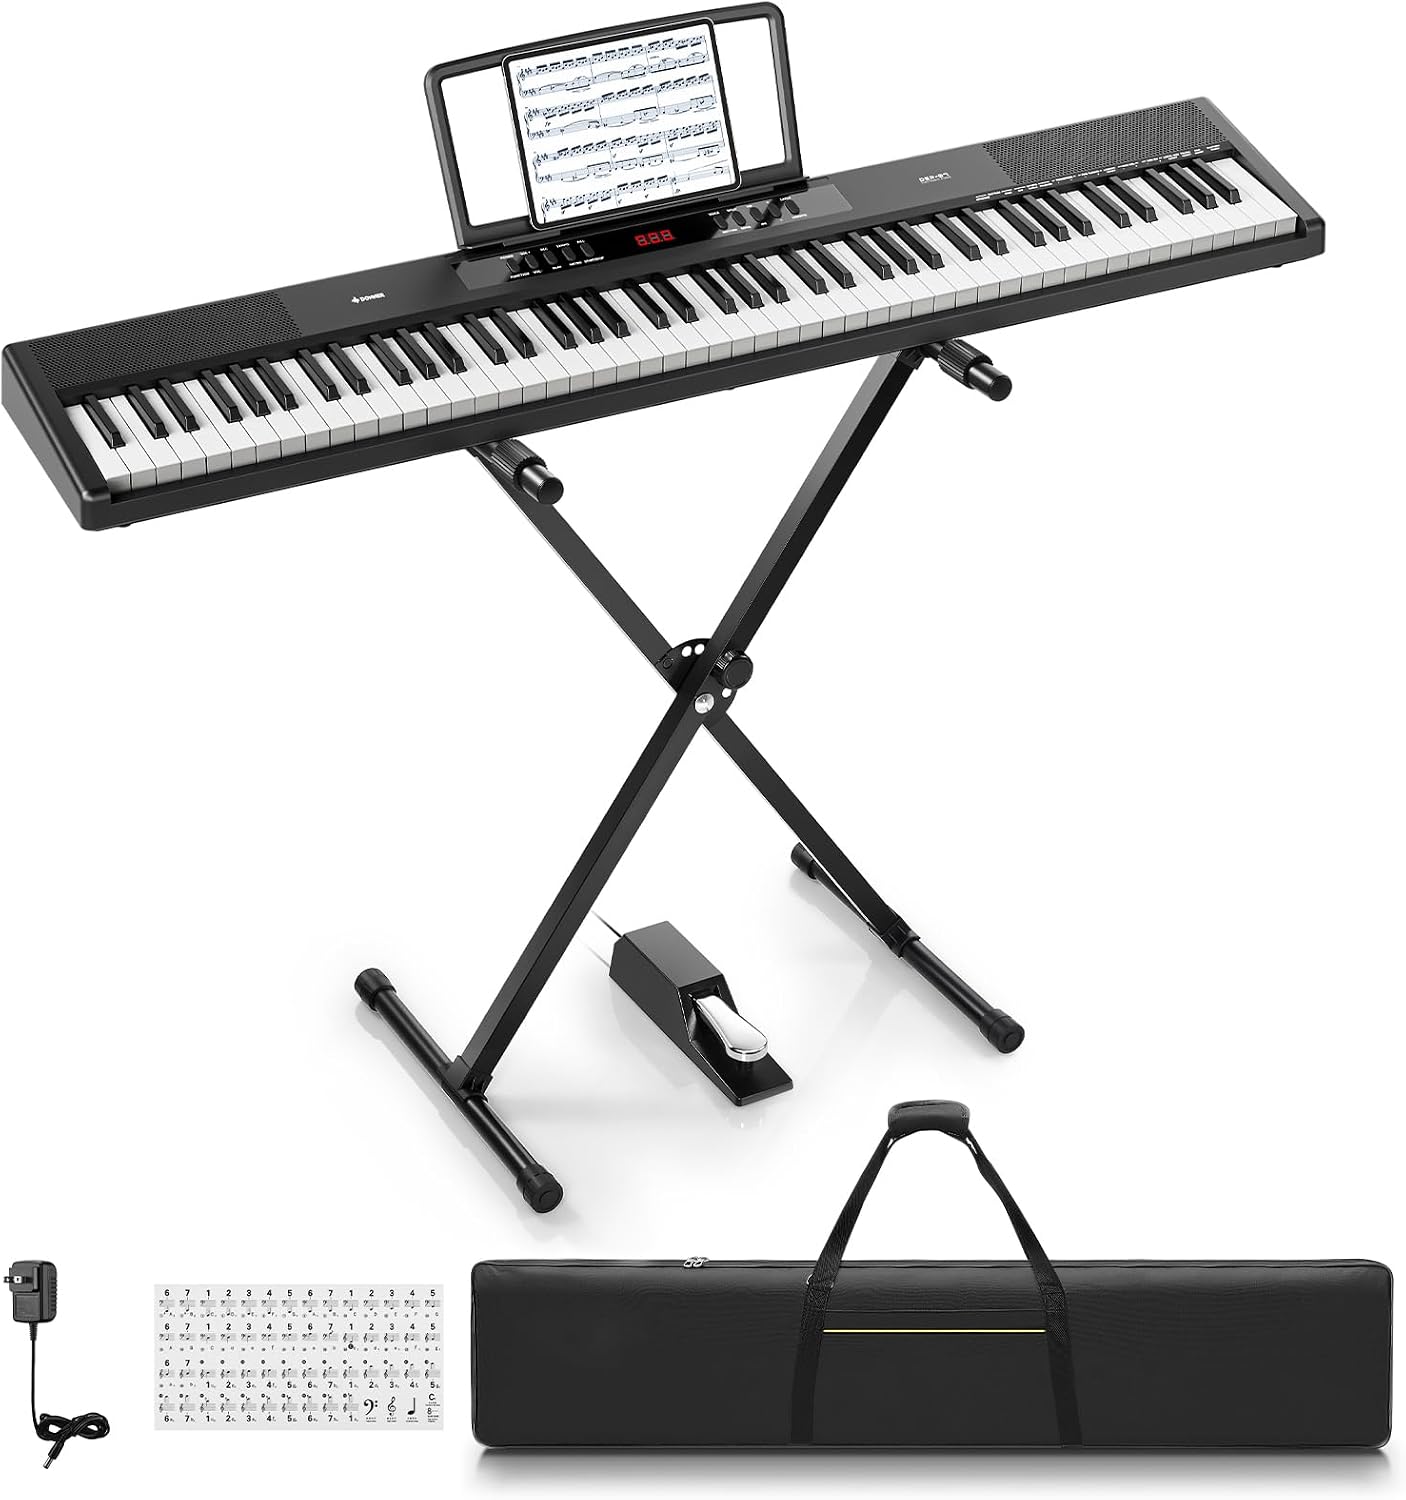
This is a full 88-key instrument with a semi-weighted action, 500 tones, 128-note polyphony, built-in speakers, and USB MIDI, and it ships as a package with a carry bag, an X-stand, a pedal, and a music rest. For a first-year student, the important parts of that list are the 88 keys and the USB MIDI port. The full range matters because a beginner method book starts wandering into the lower and upper registers within a few months, and a 61-key instrument runs out of piano right when the music gets interesting. The USB MIDI connection matters because it lets a student run notation and learning apps from the same instrument they practice on, which is the single easiest way to keep a kid engaged in the first six months.
The 500 tones are fun for about a week. You will live in two of them, an acoustic piano and maybe one electric piano for a blues piece. The 128-note polyphony figure is more than any beginner will ever need, and I would ignore the polyphony number on any box, this one included. Nobody plays 128 notes at once.
The action is semi-weighted, which is not the same thing as graded hammer. I will be direct about that: a semi-weighted action is a starting action. It will teach hand position, reading, and rhythm perfectly well, and for a ten-year-old in a third-floor apartment it is a much better choice than an acoustic upright nobody wants to move. But if a student is three or four years in and heading toward serious repertoire, this instrument becomes the second piano, not the last one.
Flaws but not dealbreakers: The bundled stand and pedal are the weak links in any package at this tier, and that has been true of every beginner bundle I have seen in twenty-five years. The X-stand is fine for slow practice and starts to move when a student plays with real energy, and a light plastic pedal has a habit of creeping across a hard floor. Budget to replace both within a year, and read the stand section below before you assemble anything.
Anyone buying for a first-year student, an adult returning to piano in an apartment, or a family that needs an instrument light enough to move between rooms will be well served here. This is the right shape of instrument for that job.
Care kit pick: Calvana (2-Pack) 2-in-1 Piano Cleaner and Polish Kit
Check current Amazon price.
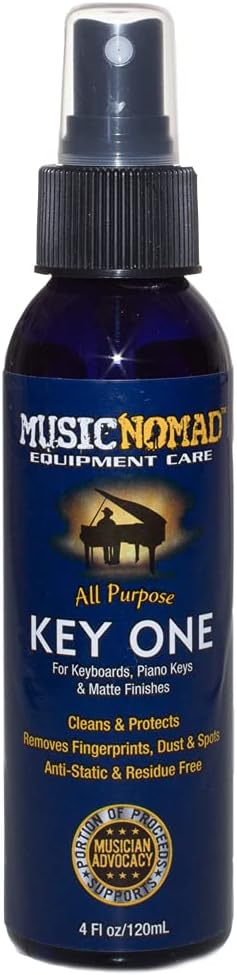
This is a two-bottle cleaner and polish kit with a 12x12 microfiber cloth, sold as a pair of 4-ounce bottles, and it is listed for most piano surfaces including digital pianos, grand pianos, baby grands, and violins. A digital piano needs less fuss than a lacquered grand, but it needs more than nothing. Key tops collect finger oil, and a matte plastic cabinet on a slab shows every smudge, which matters more than it should. An instrument that looks grimy stops feeling like something worth sitting down at.
The microfiber cloth is the part I care about most, and not for the reason you would expect. A cloth that lives in the bench drawer is a cloth that actually gets used. Most students never clean their keys because the cleaning supplies are somewhere in a kitchen cupboard, so the ritual never forms. Put the cloth where the practice happens and the habit follows.
Flaws but not dealbreakers: It is a small kit, two 4-ounce bottles, so a single home user will get a long run out of it while a teacher maintaining a studio full of instruments will reorder sooner. Keep the polish off the key tops themselves and use it on the cabinet and the fallboard area instead. A polished key top is a slippery key top, and a slippery key top teaches bad finger control.
Anyone who wants a simple, non-abrasive way to keep keys and cabinet clean on a digital piano, an upright, or a violin will be fine with this. It is an accessory, not a project.
The setup workflow, step by step
Do these in order. Skipping ahead to the sound settings before the instrument is stable wastes your time.
Step one: choose the wall before you choose the settings. Put the instrument where the keys face away from a bright window, not directly in front of one. Glare on a digital piano's key tops is worse than glare on a screen because you are reading music off a page while your hands move. Avoid radiators and heating vents, which dry out key beds and make plastic creak. And check where the headphone jack sits on the unit before you commit to a position. If the jack is on the back, leave enough room to reach behind it, because a student who has to drag the piano out from the wall to plug in headphones will simply stop practicing at night.
Step two: set height before you touch a single tone. Sit down and set the stand so your forearms are level with the keys or a hair above them. Your wrists should be flat, not bent up and not collapsed down. Most beginners sit too low, which forces the shoulders up and the fingers flat. If you have a bench that adjusts, set the bench first and then match the stand to it. If the bench is fixed, set the stand to the bench and accept that you will replace the bench.
Step three: assemble the stand and rock test it. Whatever stand you use, tighten every joint, then put both hands flat on the keys and push forward and sideways, the way a student does at the climax of a piece. If the whole assembly walks or rattles, fix it now. On carpet, a thin board or a set of hard feet under the stand legs makes more difference than any upgrade you can buy.
Step four: place the pedal like it matters, because it does. The pedal goes under your right foot on a hard surface or on a non-slip pad, not on deep carpet where it drifts an inch per week. I have watched students spend a whole lesson chasing a sustain pedal with their heel. That is not a technique problem, it is a setup problem. If the pedal still slides, a strip of non-slip shelf liner under it costs almost nothing and solves it permanently.
Step five: position the music rest and the bench. The rest should sit at eye level or slightly below so the student is not looking down at a steep angle for an hour. The student sits on the front half of the bench, feet flat, right foot on the pedal, left foot slightly back. This is the posture I check first in every new student, and it is easier to fix in week one than in year three.
Step six: set touch and velocity for a beginner. If the instrument has a touch sensitivity or velocity setting, set it to a softer or medium curve to start. Beginners do not yet have the finger strength to pull a full tone out of a hard curve, and a keyboard that feels stiff teaches a student to bang. As control develops over the first year, move the setting back toward the middle.
Step seven: set volume so tone changes are audible. Turn the volume up to a level where pressing a key gently sounds audibly different from pressing it firmly. That difference is the whole point of a weighted or semi-weighted action. If the speakers are small and fire downward or from the back, do not push the instrument flat against a wall. Give it a few inches. Speaker quality matters more than sample library size, and placement is free.
Step eight: leave headphones on the bench. A pair of headphones within arm's reach turns a ten o'clock practice session from a fight with the family into a normal part of the evening. This one habit does more for practice minutes than any feature on the instrument.
Step nine: clean it before the first lesson. Wipe the key tops with the microfiber cloth, barely damp, working one key at a time and never spraying liquid directly onto the key bed. Dust the gaps between keys with the dry corner of the cloth. Polish the cabinet, not the keys. Then put the cloth in the bench drawer where it belongs.
The weekly five minutes that keeps it playable
Dust the key tops once a week with the dry cloth, because dust works its way into the key bed and starts to affect how keys return. Wipe the keys after any session with sweaty or snacky hands. Keep drinks off the cabinet, no exceptions. If the instrument lives near a window, cover it when it is not being played. And once a month, run your hands up and down the keyboard and listen for a key that repeats more slowly than its neighbors. Catching one sticky key early is a ten-minute fix. Catching it a year later is a repair bill.
What this setup is not
This is a beginner setup, and I am not going to pretend otherwise. A semi-weighted action is not a graded hammer action, and no amount of marketing language changes that. If your student is already playing intermediate repertoire, or if you are shopping for someone who will audition for a conservatory program, you want a graded hammer instrument, and the price curve there is a different conversation.
This is also not a cabinet piano. Cabinets are furniture you pay extra for, and for most families in apartments, a slab plus a decent stand wins on both price and moving day. And this is not a recording setup. The USB MIDI port is there so a student can use notation and learning apps, and that is where I would leave it for now.
What it all costs
The instrument is the only real purchase here. Everything else is small. The care kit is an add-on that costs less than a single lesson, and the upgrades that actually matter, a solid stand, a better pedal, and an adjustable bench, are the things I would put on the list for the first year rather than the first week.
Do the math the way I do it with parents. Divide the total by the number of days the instrument will be in the house, then compare that to the cost of one weekly lesson over the same period. On a five-year horizon, even a mid-tier setup works out to pocket change per day, and the setup decisions in this article are free. The stand height, the pedal placement, the headphone jack, and the cloth in the bench drawer cost nothing and change everything.
Set it up once, properly, before the first lesson. Then leave the instrument alone and let the student do the work. That is the job.